
Prototype Development for Phone Cases
The Prototype Development phase is crucial in transforming a phone case concept into a tangible product. This stage allows designers and manufacturers to test functionality, materials, and aesthetics before mass production.
Maecenas tincidunt elit – habitant morbi tristique.
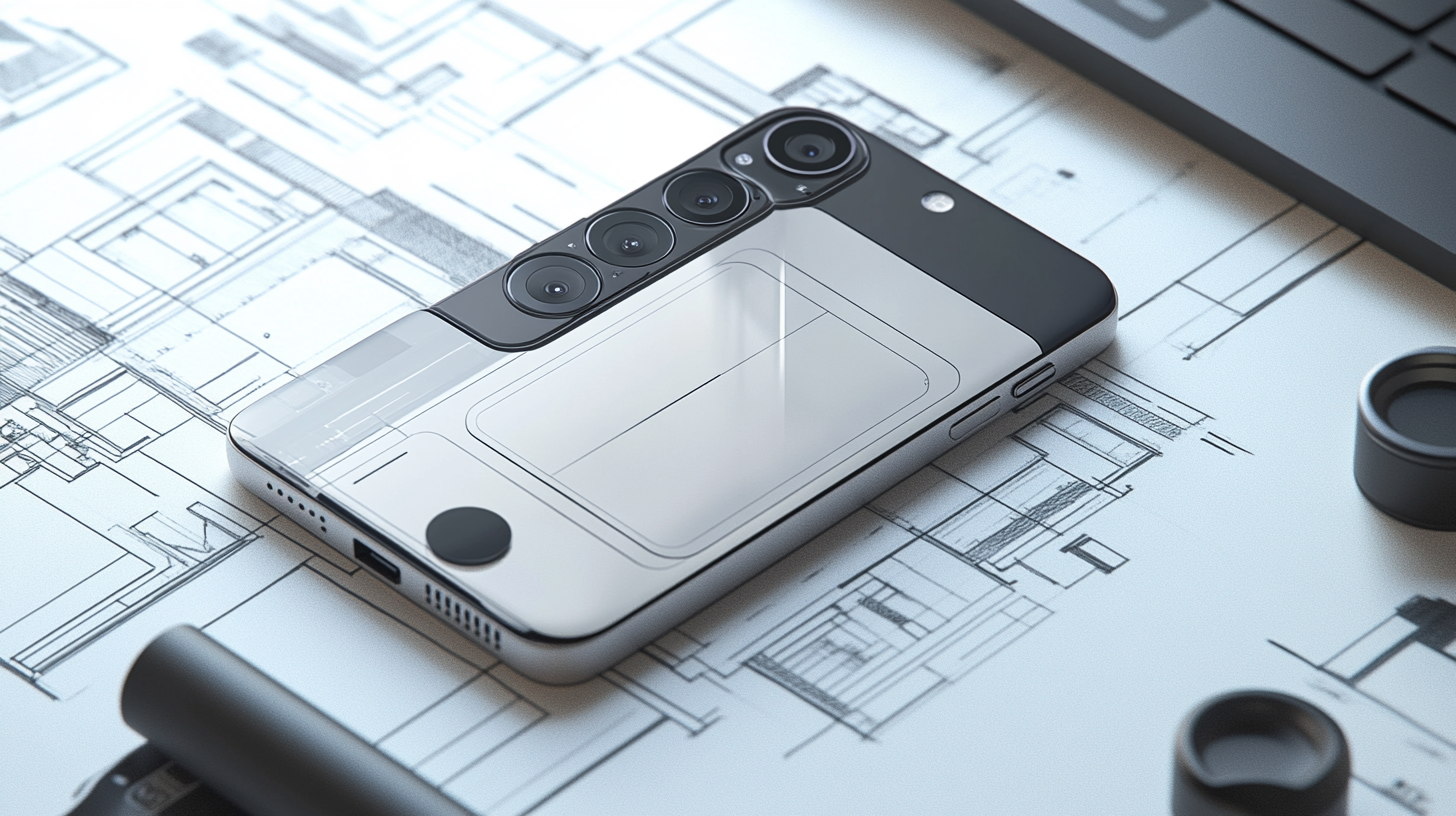
1. Concept Design & Sketching
Before creating a prototype, designers develop initial sketches and 3D models.
- Hand-drawn sketches help visualize shape, texture, and key features.
- 3D CAD (Computer-Aided Design) modeling enables precise digital representations.
- Designers focus on ergonomics, button placements, and compatibility with phone models.
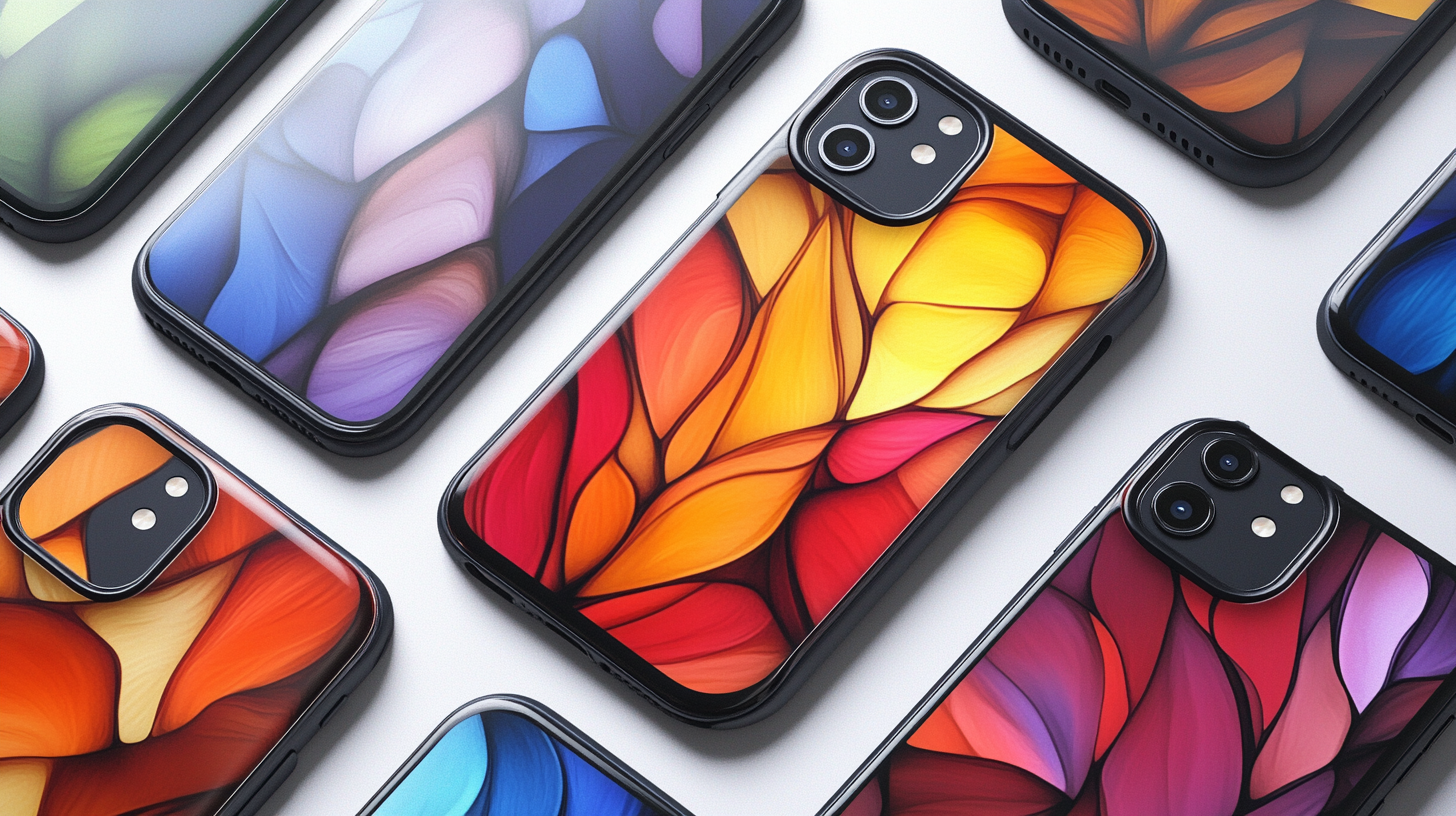
2. Material Selection
Choosing the right material affects durability, flexibility, and user experience. Common materials include:
- Silicone & TPU (Thermoplastic Polyurethane): Flexible, shock-absorbing, and lightweight.
- PC (Polycarbonate): Rigid and impact-resistant.
- Leather & Fabric: Premium look and feel, often used for high-end cases.
- Eco-Friendly Options: Biodegradable plastic, bamboo, or recycled materials.
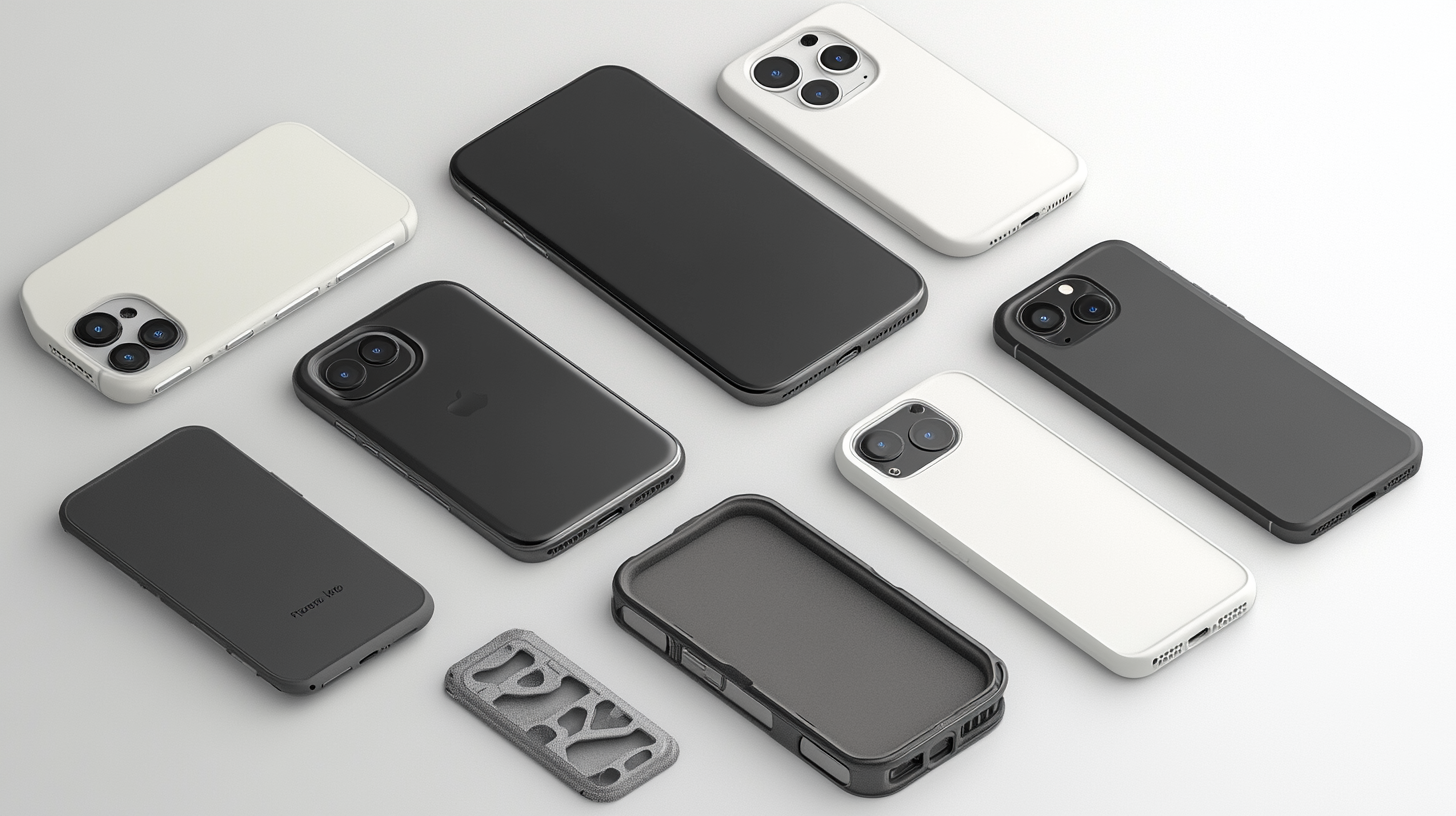
3. Prototype Fabrication
Creating the first physical version of the phone case using:
- 3D Printing: Ideal for rapid prototyping and testing fit/design.
- CNC Machining: Produces high-precision plastic or metal prototypes.
- Injection Molding (Low-Volume): Used for small-scale production testing.
4. Fit & Compatibility Testing
Ensuring the prototype fits the target phone model accurately.
- Testing button responsiveness, charging port access, and camera cutouts.
- Verifying wireless charging and MagSafe compatibility (if applicable).
5. Durability & Performance Testing
Prototypes undergo rigorous tests to evaluate real-world performance.
Common Tests:
- Drop Test: Simulates accidental falls from different heights.
- Scratch & Abrasion Test: Evaluates material resistance to wear and tear.
- Temperature & UV Resistance Test: Checks durability under heat and sunlight.
- Water & Chemical Resistance Test: Ensures protection against spills or cleaning agents.
6. Refinements & Iterations
Based on test results, designers refine the prototype to fix issues.
- Adjusting thickness, button tactility, or grip texture.
- Optimizing cutouts for better accessibility.
- Enhancing material durability or reducing weight.
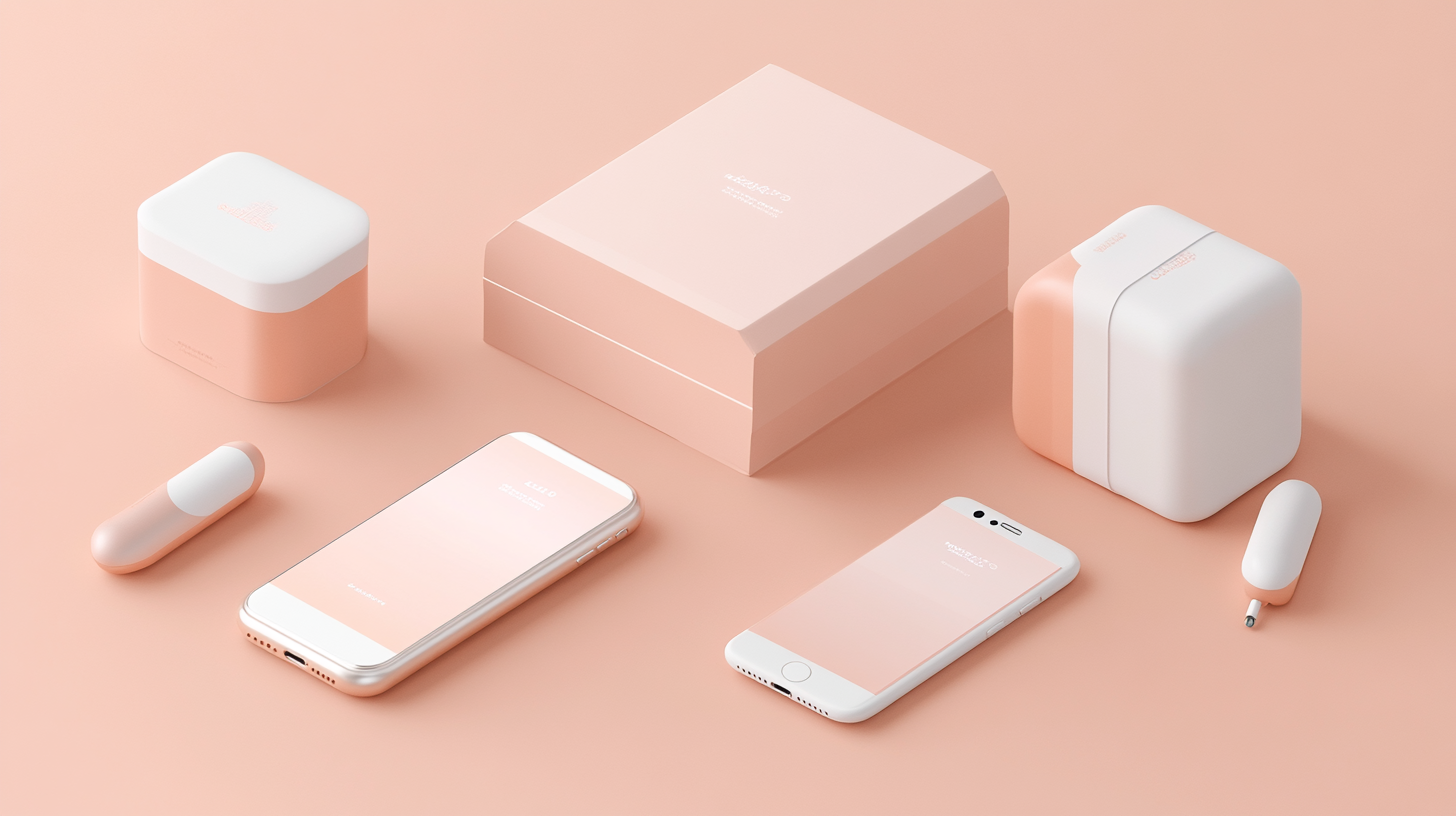
7. Finalizing the Prototype
Once all adjustments are made, the final prototype is approved for production.
- It serves as a reference for mass production molds.
- Ensures all aspects—design, function, and protection—are optimized.
Prototype Development Summary Table
| Stage | Description | Key Considerations |
|---|---|---|
| Concept Design & Sketching | Creating initial designs & digital models. | Is the design ergonomic and stylish? |
| Material Selection | Choosing the right materials for durability. | Is the material suitable for target users? |
| Prototype Fabrication | Producing the first physical sample. | Which prototyping method is best? |
| Fit & Compatibility Testing | Ensuring precise fit for the phone model. | Do all ports, buttons, and features work smoothly? |
| Durability & Performance Testing | Conducting drop, scratch, and resistance tests. | Does the case protect the phone effectively? |
| Refinements & Iterations | Making improvements based on test results. | What changes enhance usability and durability? |
| Finalizing the Prototype | Preparing the prototype for mass production. | Is the design ready for large-scale manufacturing? |


